


SOLENOID VALVES REPLACEMENT
Description
Follow the steps below and watch the video-tutorial to learn how replace the solenoid valve
| Activities: | 7 |
| Difficulty: | Medium |
Necessary Tools
- Phillips Screwdriver
- 13mm Key
- 17mm Key
Replacement Parts
- Solenoid valve
SOLENOID VALVES REPLACEMENT
Step 1
Removing the cover panel
Please unscrew 4 screws of the upper cover plate through a screwdriver
Step 2
Disassembly

Please remove the pipes from the valve
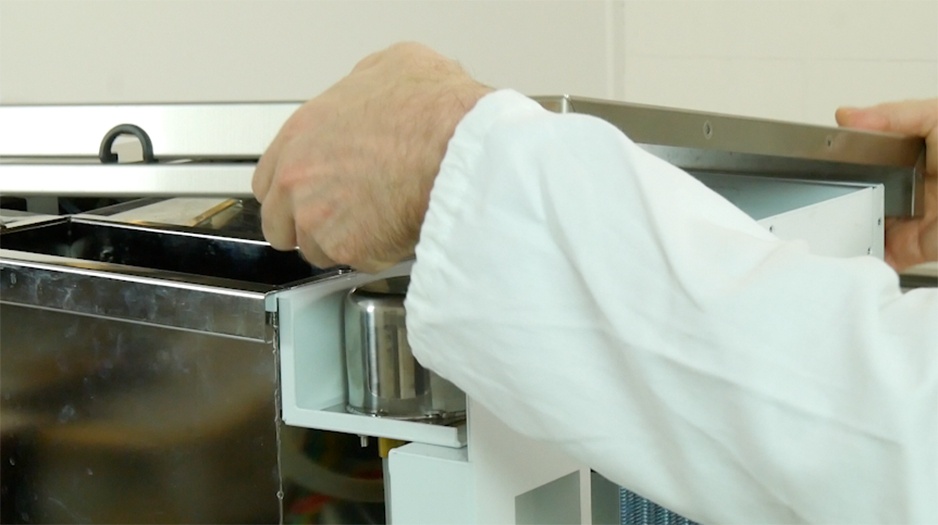
Step 3
Disassembly

Please disassemble the left or right metal support to simplify the technical action
Step 4
Disassembly

Please unscrew the damaged solenoid valve (2 screws)
Step 5
Replacement

Please replace the damaged solenoid valve with a new one
Step 6
Assembly

Please fix the solenoid valve to the metal base
Step 7
Assembly

Please connect the pipes on the connectors