


QUALITY WATER SENSOR REPLACEMENT
Description
This guide will show you how to replace a non-functioning quality water sensor
| Activities: | 5 |
| Duration: | 2 min |
| Difficulty: | Medium |
Necessary Tools
- Phillips Screwdriver
- 17mm Key
- Allen Key
Replacement Parts
- Quality Water Sensor
QUALITY WATER SENSOR REPLACEMENT
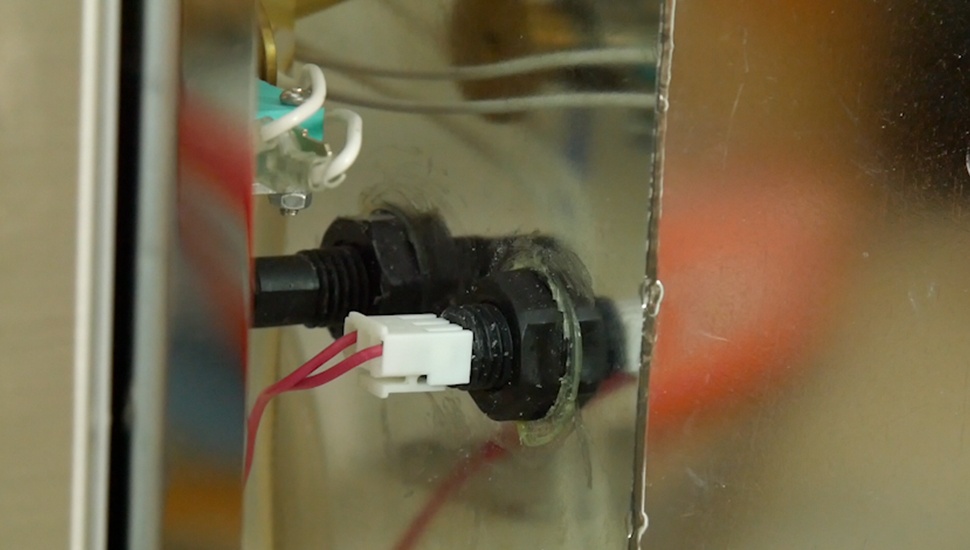
Step 1
Replacement
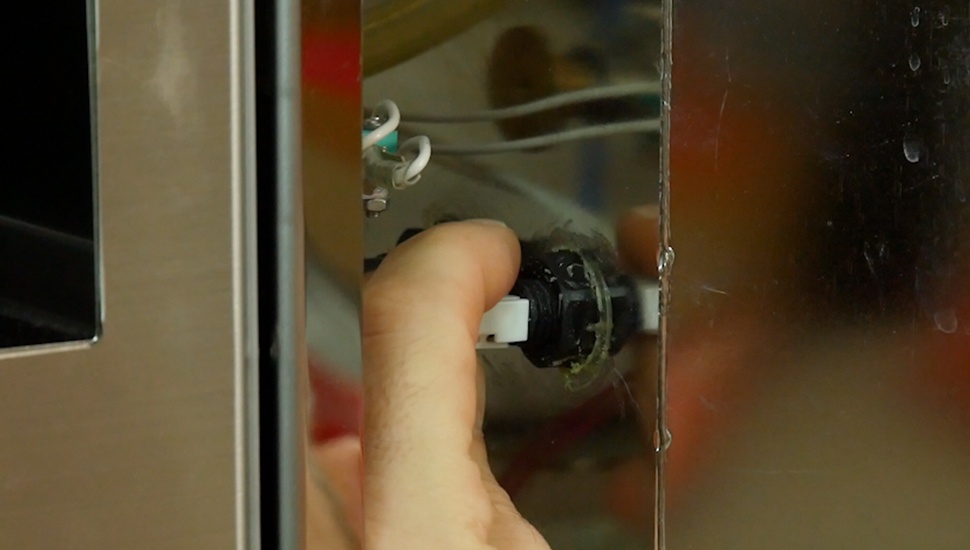
Please disconnect the connector from the sensor
Step 2
Replacement
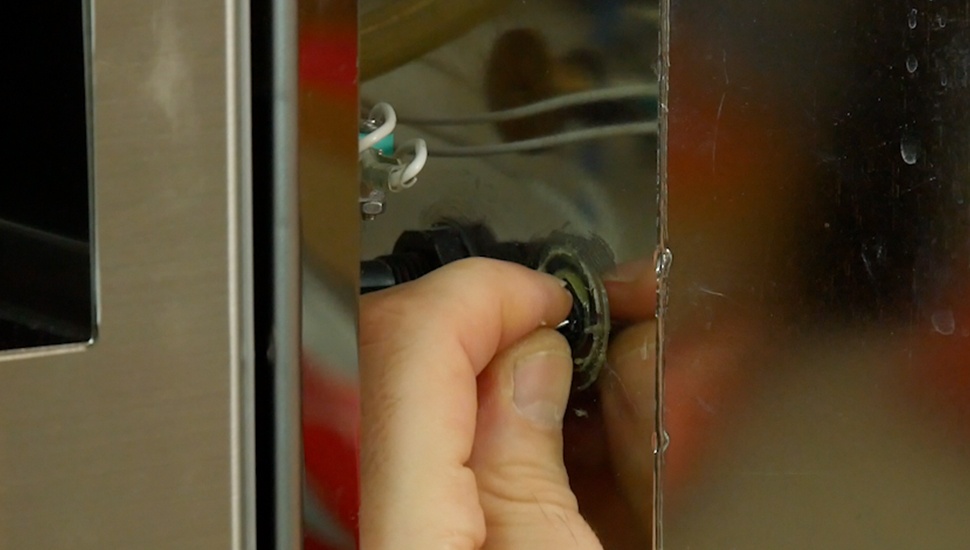
Please unscrew the nut and pull the sensor out
Step 3
Replacement
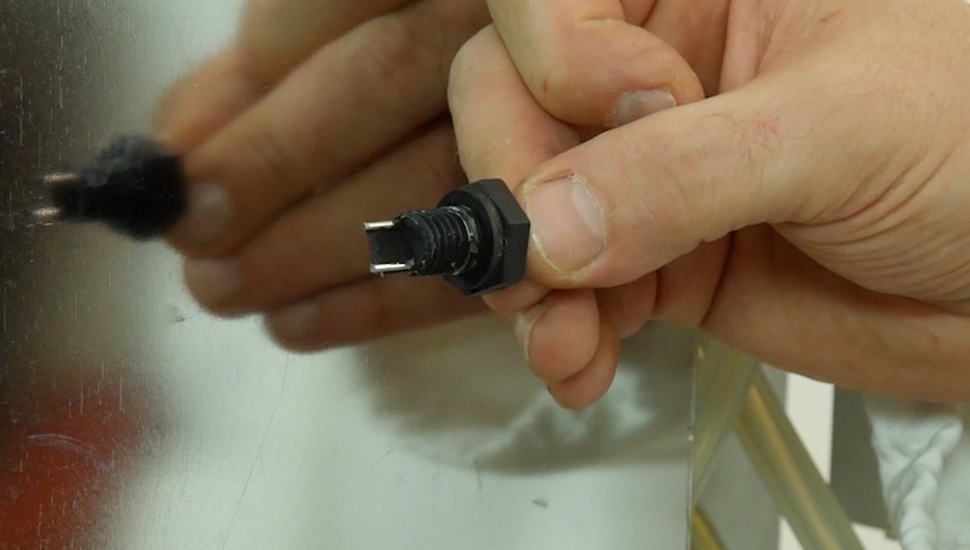
Please change the sensor with a new one
Step 4
Assembly
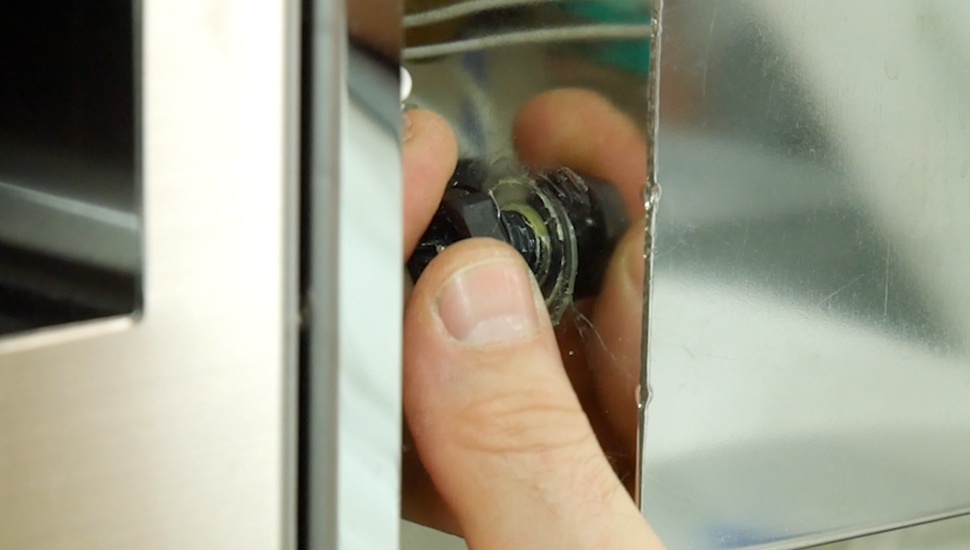
Please insert the new sensor in its position
Step 5
Assembly
Please connect the connector to the sensor