


CLEAN WATER TANK PUMP REPLACEMENT
Description
If ER04 appears on the display, this tutorial easily instruct you how to check and replace non-fuctional water pump
| Activities: | 14 |
| Difficulty: | Medium |
Necessary Tools
- Phillips Screwdriver
- Kocher Pliers
- Cutters
Replacement Parts
- Water load pump
CLEAN WATER TANK PUMP REPLACEMENT
Step 1
Positioning
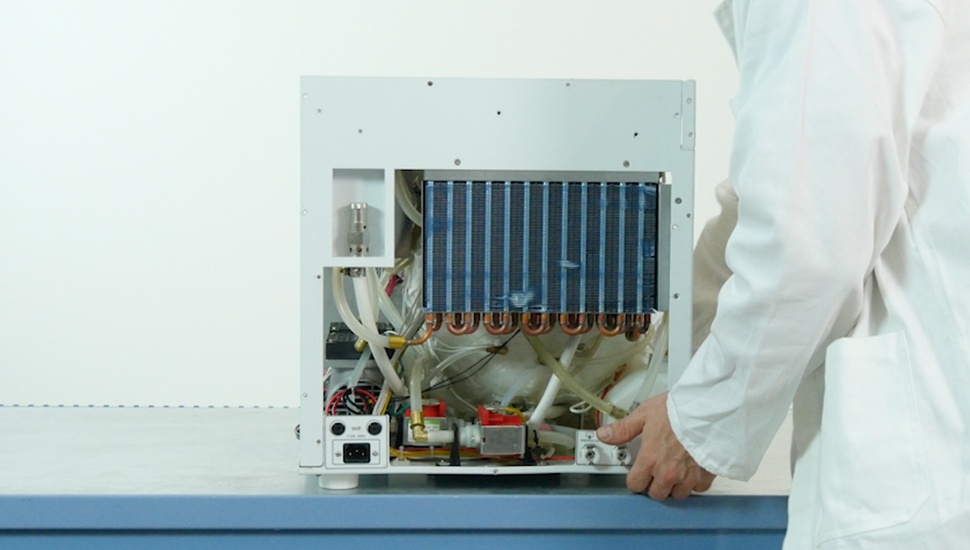
Please move the machine to the external verge of the table (4-5cm)
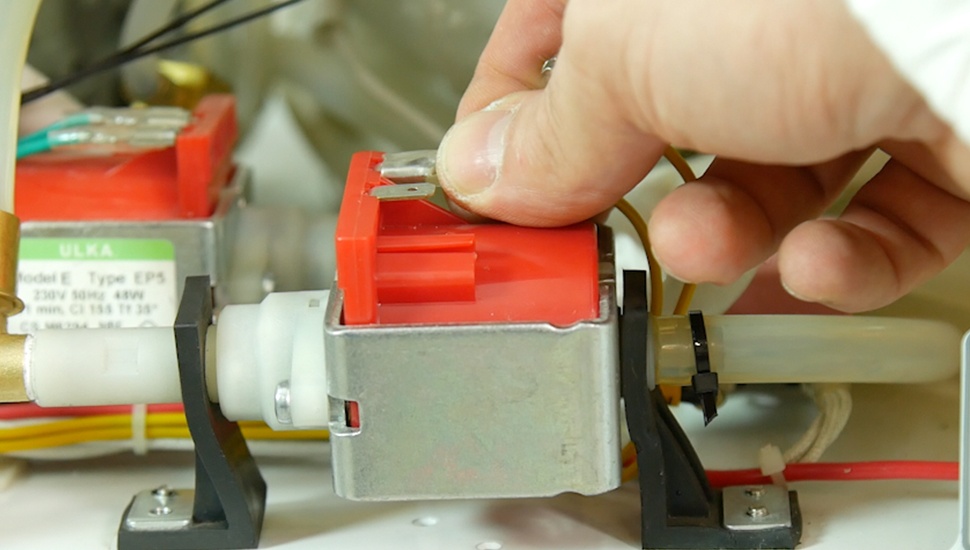
Step 2
Disassembly

Please unscrew the plastic support of the pump located on the water exit site (2 screws)
Step 3
Disassembly
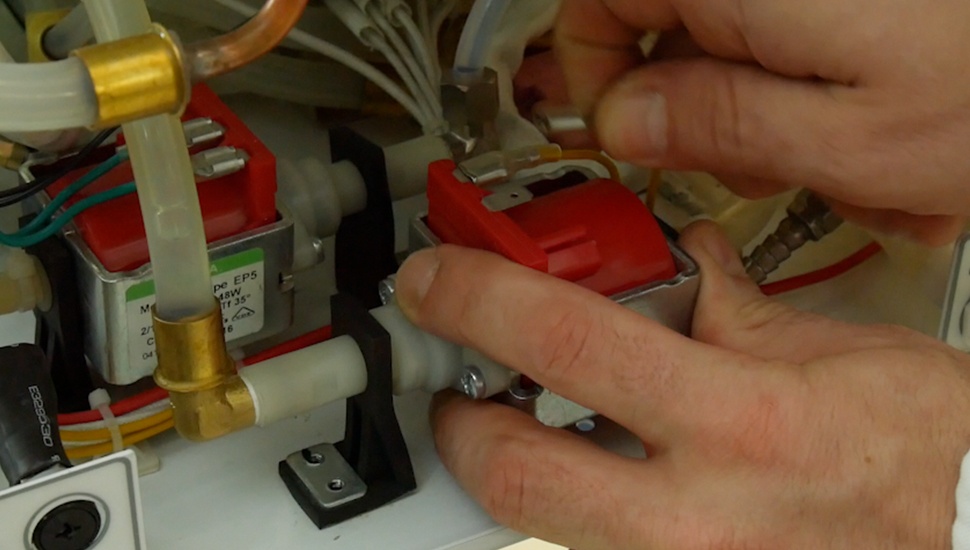
Please disconnect the 2 faston connectors
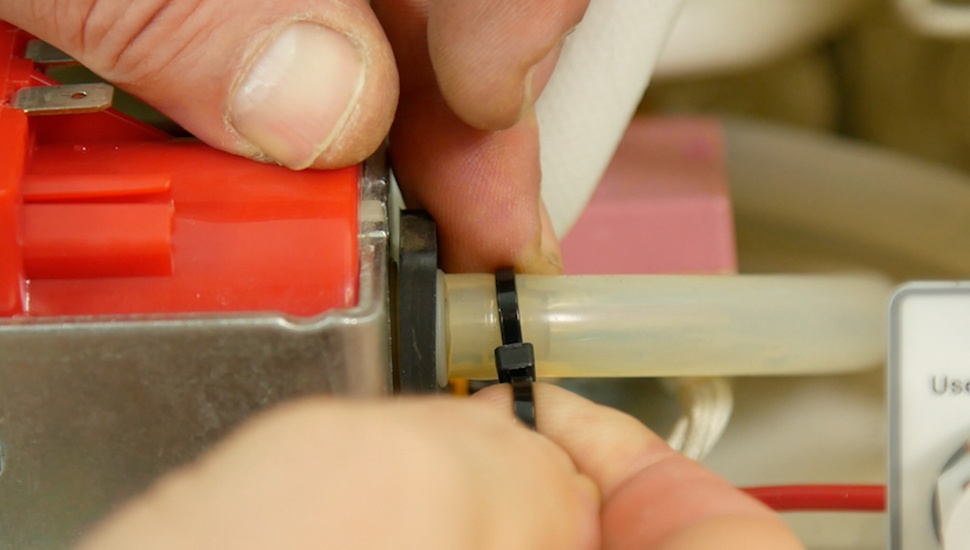
Step 4
Disassembly
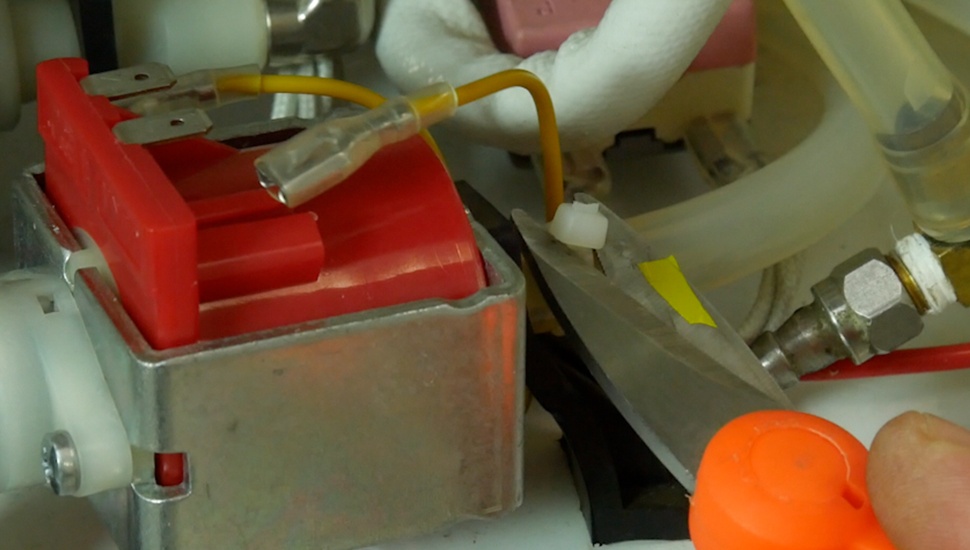
Please cut the cable tie on the entry pipe
Step 5
Disassembly

Please disconnect the entry pipes
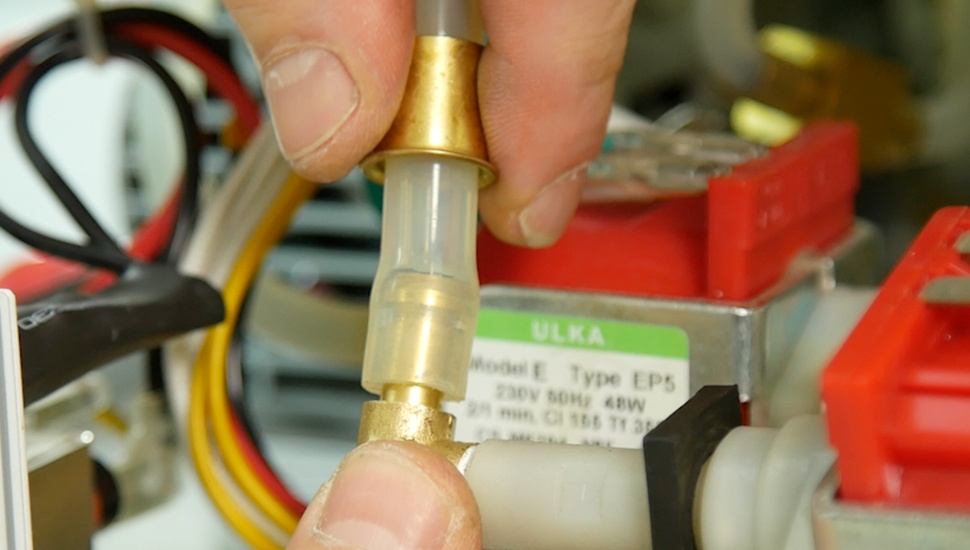
Step 6
Disassembly

Please pull the pump out of L-shape brass connector
Step 7
Disassembly
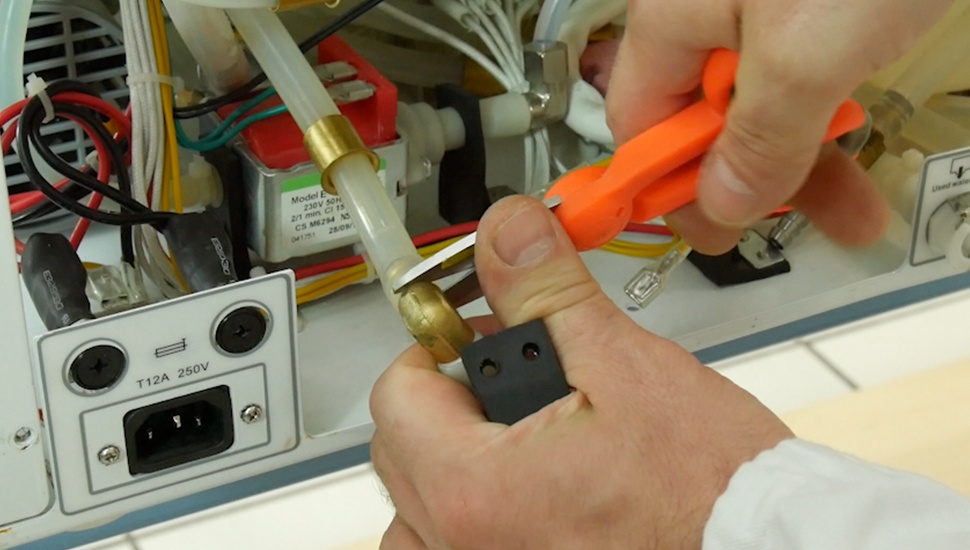
Please disconnect the exit pipe
Step 8
Disassembly

Please pull the L-shape plastic support out
Step 9
Disassembly

Please disconnect the 2 faston connectors
Step 10
Replacement

Please change water load pump with the new one
Step 11
Assembly

Please insert the support on the pump
Step 12
Assembly
Please screw the brass connector
Step 13
Assembly
Please place the pump on its entry support
Step 14
Assembly
Please connect the exit pipes with specific safety block